
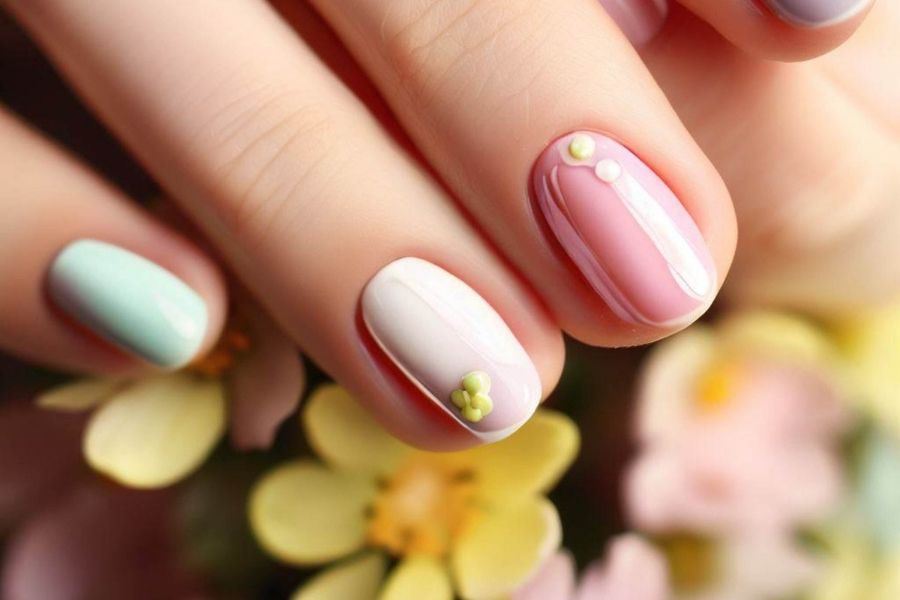
Press-On Nails changed everything for me, and honestly, they’ll probably change everything for you too. Remember when getting gorgeous nails meant dropping serious cash at the salon every two weeks? Those days are over. I’m talking about transforming your bathroom counter into your personal nail studio, complete with all the drama and none of the awkward small talk with strangers. But here’s what nobody tells you: slapping on press-on nails and calling it a day won’t cut it. The difference between “cute, did you do those yourself?” and “wait, where did you get your nails done?” lies in the details. You need to know the tricks that professional nail techs use, the shortcuts they’ve perfected, and yeah, the mistakes they learned from the hard way. Trust me, once you nail this (pun totally intended), you’ll wonder why you ever bothered with salon appointments.
Why Press-On Nails Are Basically Magic
Let’s be real: press-on nails are having their moment, and it’s about time. Think about how crazy this is. You can go from boring, bitten-down stubs to Instagram-worthy talons in literally fifteen minutes. The nail technology behind today’s press-on nails isn’t your mom’s drugstore version from the ’90s. We’re talking flexible adhesive strips, precision cuts, and colors that actually stay put. Even fancy nail salons are jumping on this bandwagon because, surprise, they work better than half the expensive treatments they’re charging for.
What gets me excited about press-on nails is how they fit into real life. You know that feeling when you break a nail right before a big meeting? Or when your polish chips five minutes after leaving the salon? Press-on nails eliminate all that drama. You can switch up your look for date night, go conservative for work presentations, or get wild for weekend festivals. Plus, your actual nails stay healthy underneath, which is more than I can say for those gel manicures that left my nails looking like tissue paper.
Getting Your Press-On Nail Toolkit Ready
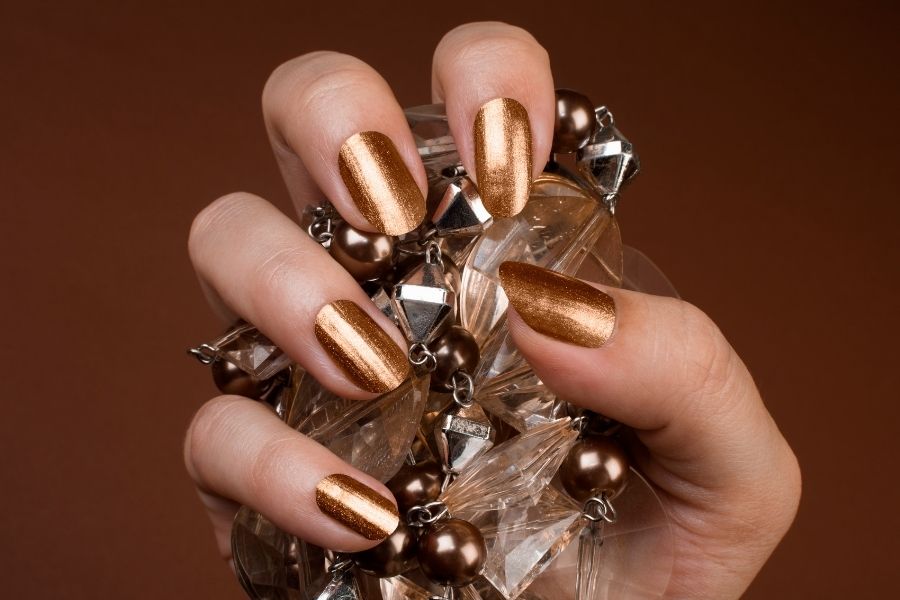
Building your press-on nail arsenal doesn’t mean buying everything at Sephora. You need smart basics that actually work. Start with a decent nail file (not those flimsy cardboard ones), a proper cuticle pusher, some nail dehydrator or rubbing alcohol, and quality nail glue. The glue part is crucial. Cheap glue equals nails popping off during important Zoom calls, and nobody wants that embarrassment.
Here’s something most people mess up: nail sizing. You can’t just eyeball it and hope for the best. Each finger needs its perfect match, just like Cinderella’s slipper situation. Too big, and you’ll get weird bubbles and lifting. Too small, and you’ll look like you borrowed someone else’s nails. Get yourself a proper sizing guide or measuring strips. Your future self will thank you when your press-on nails are still perfect after two weeks instead of peeling off after two days.
Prepping Your Nails Like a Pro
Okay, this is where most people get bored and want to skip ahead, but stick with me. Nail prep is like primer for your face. You wouldn’t apply foundation without it, right? Same logic applies here. Strip off any old polish, push back those cuticles, and trim your natural nails short. I mean really short. Long natural nails under press-on nails create bumps and weird pressure points that make everything look amateur.
Nail dehydration sounds fancy, but it’s just removing the oils from your nail surface. Use a nail dehydrator or just swipe some rubbing alcohol across each nail. Your nails naturally produce oils, and even tiny amounts can sabotage your entire manicure. I learned this the hard way after watching my supposedly “long-lasting” press-on nails pop off one by one during a weekend trip. Don’t be me. Take the extra two minutes to do this step properly.
Finding Your Perfect Press-On Nail Match
Press-on nail sizing is like online shopping for jeans. You think you know your size, but every brand fits differently, and you end up with something that looks great in photos but weird in real life. Start with your thumbs because they’re usually the trickiest to fit. The press-on nail should cover your nail bed completely without touching your skin. If it overlaps onto your finger, go smaller. If it leaves gaps, try the next size up.
Most decent press-on nail brands give you tons of size options, sometimes twelve different sizes per hand. Use them. Your pinky finger probably isn’t the same width as your ring finger, even though they might look similar. Take your time here because rushing through nail sizing is the fastest way to end up with a manicure that looks homemade in the worst possible way.
Applying Press-On Nails Without the Drama
Now we get to the fun part. Press-on nail application has a rhythm to it, like a dance you learn once and never forget. Put a tiny drop of nail glue on your natural nail and inside the press-on. Less is more here. Nobody wants glue oozing out the sides, creating a sticky mess you’ll spend forever cleaning up.
Here’s the magic trick: the 45-degree angle approach. Don’t just plop the nail straight down. Start at your cuticle area, angle the press-on nail at 45 degrees, then roll it down toward your fingertip. This pushes out air bubbles and spreads the glue evenly. Press firmly for about fifteen seconds per nail. Count it out loud if you have to. This isn’t the time to multitask and check your phone.
Making Press-On Nail Edges Disappear
The secret to professional-looking press-on nails is invisible edges. You want people squinting at your hands, trying to figure out where your real nail ends and the fake one begins. This takes patience and a good nail file. Work those edges until they blend seamlessly with your natural nail.
Nail filing technique matters more than you think. Always file in one direction, never back and forth like you’re sawing wood. Start with a coarser file to shape, then switch to something finer for smoothing. The goal is creating a smooth transition that feels natural when you run your finger over it. If you can feel where the press-on nail meets your natural nail, keep filing.
Shaping Your Press-On Nails Like an Artist
Once your press-on nails are secure, the real creativity starts. Nail shaping is where you decide if you’re going for “boss babe” square tips, “romantic” almonds, or “edgy” coffin shapes. Each shape requires different filing techniques, and honestly, some shapes work better with certain finger types than others.
Custom nail shaping lets you create something totally unique. Start longer than you want and file down gradually. You can always remove more length, but adding it back requires starting over completely. Use a glass file if you can find one. They’re gentler and give you more control over the final shape.
Adding Your Personal Touch to Press-On Nails
Press-on nails are basically blank canvases waiting for your creativity. You can paint them, add stickers, create gradients, or go completely wild with nail art. The best part? If you mess up, you’re not stuck with it for weeks like you would be with a salon manicure.
Nail art on press-on nails is actually easier than on natural nails because you have more surface area to work with and they don’t move around as much. Wait at least a day after application before getting artistic, though. You want that bond to be rock solid before you start pressing and painting.
Keeping Your Press-On Nails Looking Fresh
Press-on nail maintenance isn’t complicated, but it does require some basic common sense. Treat your nails like the investment they are. Use cuticle oil regularly because dry, flaky cuticles make even perfect nails look messy. Wear gloves when you’re cleaning or doing dishes. Harsh chemicals and prolonged water exposure are press-on nail enemies.
Stop using your nails as tools. I know it’s tempting to use them for opening packages or scratching off labels, but resist. One wrong move and you’ll be dealing with nail lifting or breaks that are way harder to fix than they are to prevent.
Fixing Press-On Nail Problems Before They Get Worse
Nail lifting happens to everyone eventually. The key is catching it early and dealing with it before the whole nail pops off. If you see lifting at the edges, don’t ignore it and hope it goes away. Gently lift the nail, clean underneath, and reapply with fresh glue.
Press-on nail repairs can actually extend your manicure’s life significantly. Small chips? File them smooth and add a tiny drop of glue. Cracks? Sometimes you can reinforce them with a thin layer of clear polish. Keep spare nails from your original set because replacing one nail is always better than starting over completely.
Taking Off Press-On Nails Without Destroying Everything
Press-on nail removal separates the smart from the impatient. Never, and I mean never, just rip them off. You’ll damage your natural nails and probably hurt yourself in the process. Soak your hands in warm, soapy water for ten to fifteen minutes until the glue softens, then gently work the nails off from the sides.
Post-removal nail care is crucial if you want healthy natural nails for your next press-on application. Moisturize everything. Your nail beds, your cuticles, your fingers. Give your natural nails a break between applications if you’ve been wearing artificial nails for weeks straight. A little nail strengthening treatment never hurt anyone.
Learning press-on nail application at home is honestly one of the best beauty skills you can develop. You’ll save money, time, and the hassle of salon appointments that never seem to fit your schedule. Plus, there’s something satisfying about looking down at your hands and knowing you created that perfect manicure yourself. Sure, your first few attempts might not be Instagram-worthy, but practice makes perfect, and even imperfect press-on nails usually look better than whatever sad situation your natural nails are in right now. So grab a set, clear your bathroom counter, and prepare to become your own personal nail technician.