
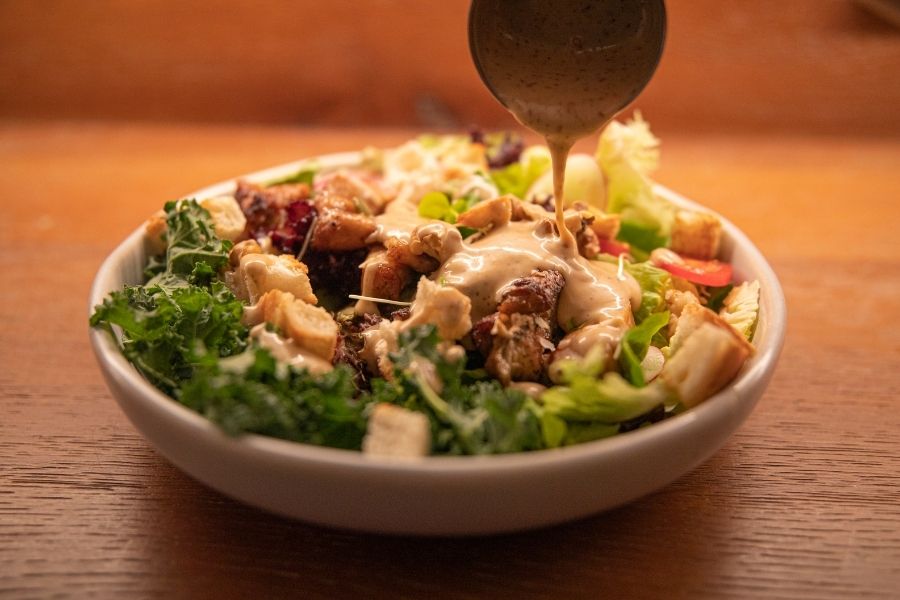
You know that moment when you’ve spent an hour crafting the perfect breakfast bowl – quinoa, fresh berries, a drizzle of honey that catches the light just right – and then you snap a photo that makes it look like prison food? Yeah, we’ve all been there. Your beautifully plated creation somehow transforms into a sad, gray mess the second you hit that camera button. Here’s the thing nobody tells you: it’s not your fault. It’s not even your phone’s fault. The real villain hiding in plain sight? Your food photography lighting setup. Or more accurately, the complete lack of one.
Natural light food photography isn’t just some fancy technique reserved for professional bloggers with perfect kitchens. It’s actually the easiest way to make your food look like it belongs in a magazine instead of a cautionary tale. The best part? Sunlight doesn’t charge by the hour, and it’s probably streaming through your window right now, just waiting to make your lunch look legendary.
Think about it – when was the last time you saw food that looked truly appetizing under those harsh fluorescent kitchen lights? Natural light brings out colors the way they’re supposed to look, creates those dreamy shadows that add depth, and gives your food that “I want to eat this immediately” vibe that keeps people scrolling.
Why Natural Light Beats Every Fancy Setup (And Your Wallet Will Thank You)
Let me bust a myth right here: expensive lighting equipment doesn’t automatically equal better food photos. Some of the most mouth-watering images on Instagram were shot with nothing more than a phone and a nearby window. Natural light has this magical quality that even the most sophisticated studio setups struggle to replicate.
Picture your food photography lighting like cooking itself. You could use every gadget in the Williams Sonoma catalog, but sometimes the simplest ingredients create the most incredible flavors. Window light photography works the same way – it’s pure, unfiltered, and brings out the authentic beauty of your food without any artificial weirdness.
Ever notice how restaurant food photos always look slightly off? That orange-y tint that makes everything look like it’s been sitting under a heat lamp? That’s artificial lighting playing tricks. Natural light keeps your red strawberries actually red, your green herbs vibrant, and your golden toast looking like something you’d actually want to bite into.
The color temperature of natural light changes throughout the day, giving you a whole palette of moods to work with. Morning light feels fresh and energetic – perfect for smoothie bowls and avocado toast. Afternoon sun gets warmer and cozier, making your soup look like a hug in a bowl. It’s like having a professional lighting designer who works for free and never complains about overtime.
Plus, there’s something authentic about natural light food photography that viewers can sense, even if they can’t put their finger on it. It feels real, lived-in, like they could walk into that kitchen and grab a fork.
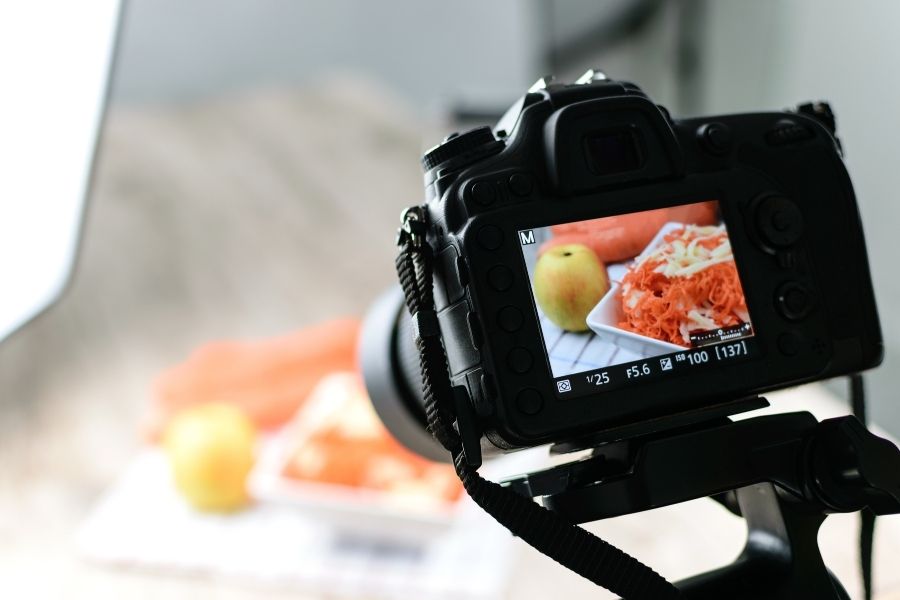
Your Natural Light Food Photography Setup Doesn’t Need to Break the Bank
Before you start panicking about buying expensive gear, let me save you some money. The most important tool in your food photography lighting setup costs exactly zero dollars: your eyes. Learning to see light, understand it, and work with it matters way more than any equipment you could buy.
That said, a few simple additions can take your photos from “not bad” to “how did you do that?” A white foam board from the dollar store becomes your best friend – it bounces light exactly where you need it, filling in those harsh shadows that make food look unappetizing. Professional photographers use the exact same thing, just with fancier branding and a higher price tag.
Sheer curtains or even a white bedsheet can transform your harshest window into a dreamy softbox. Direct sunlight streaming through glass can be brutal, creating blown-out highlights and deep, unflattering shadows. But hang something translucent in front of that window, and suddenly you’ve got the kind of soft, even lighting that makes everything look gorgeous.
A tripod or phone mount saves your sanity and your photos. Nothing kills the mood like trying to hold your phone steady while adjusting that garnish with your other hand. When your camera stays put, you can focus on making your food look incredible instead of fighting with shaky shots.
White poster board serves triple duty – reflector, diffuser, and clean background all in one. Keep a few different sizes around, and you’ll always have the tools to shape your light exactly how you want it.
Window Light: Your Secret Weapon for Professional Food Photography
Not all windows are created equal, and understanding the personality of each direction can transform your food photography lighting game completely. It’s like knowing which burner on your stove runs hot – once you figure it out, everything becomes so much easier.
North-facing windows are the steady friends of the lighting world. They give you consistent, soft light all day long without those dramatic changes that can mess up your shooting flow. This even illumination works beautifully for fresh, colorful dishes where you want every ingredient to pop without competing shadows.
East windows catch that gorgeous morning light that makes breakfast photos absolutely sing. There’s something about that cool, crisp early light that makes fresh fruit look like it was just picked, and coffee steam practically dance in the air. As the day moves on, east light gets softer and warmer – perfect for those cozy brunch vibes.
West-facing windows flip the script, starting gentle and building to that golden hour magic that food photographers dream about. Late afternoon west light makes comfort foods look incredible – think bubbling casseroles, fresh-baked bread, anything that should look warm and inviting.
South windows can be tricky but rewarding. Midday south light often needs some taming with curtains or diffusion, but during the golden hours, it provides that perfect balance of brightness and warmth that makes viewers want to reach through the screen.
The distance from your window completely changes your lighting mood. Right next to the glass gives you dramatic, directional light with strong shadows – great for moody, restaurant-style shots. Move back a few feet, and that same light becomes softer and more even, perfect for bright, airy lifestyle images.
Turning Household Items into Professional Diffusion Tools
You don’t need to raid a photography store to create beautiful, soft lighting. Parchment paper taped over a smaller window or positioned between your subject and light source works like a charm for close-up food photography. It softens harsh light without killing the brightness completely.
White shower curtains make fantastic large diffusers. Hang one across a bright window, and you’ve instantly created a massive softbox that would cost hundreds in a photography store. The light becomes even and flattering, perfect for larger food spreads or multiple dishes in one shot.
Advanced Natural Light Techniques That Make Food Photography Lighting Irresistible
Once you’ve got basic window lighting down, it’s time for the fun stuff. Backlighting creates some of the most dramatic and appetite-inducing food photos, but it takes a little finesse to avoid turning your beautiful dish into a dark silhouette.
Golden hour backlighting is pure magic. Position your food between your camera and that low, warm light streaming through the window. The light catches steam, highlights textures, and creates this incredible rim lighting that makes everything look almost ethereal. Just remember to use a reflector to bounce some light back onto the front of your dish, or you’ll end up with a gorgeous but unrecognizable shadow.
Side lighting with fill gives you the best of both worlds – drama and detail. Put your main light at about a 45-degree angle to your subject, then use a white board or even a white napkin to bounce light back into the shadows. This technique creates depth and dimension while keeping all the delicious details visible.
The inverse square law sounds complicated, but it’s actually your friend. Light gets dimmer fast as you move away from the source. Use this to create natural vignetting – darker edges that draw the eye straight to your perfectly lit dish in the center of the frame.
Seasonal Lighting Strategies for Year-Round Success
Each season brings its own lighting personality, and smart food photographers learn to work with these changes instead of fighting them. Winter light might be weaker and cooler, but it’s perfect for cozy, comfort food photography. Those shorter days mean you need to work efficiently, but the soft quality of winter sun filtering through clouds creates beautiful, even lighting that’s incredibly flattering.
Summer light gives you long shooting days but can be intense to work with. Early morning and late evening summer light provides that warm, inviting quality that makes everything look fresh and appealing. Midday summer sun usually needs some diffusion, but it’s bright enough to give you lots of creative options.
Spring and fall hit that sweet spot with moderate intensity and gorgeous color temperatures. The sun’s changing angle throughout these seasons means you’re constantly getting new creative opportunities as the light shifts and evolves.
Fixing the Food Photography Lighting Problems That Drive Everyone Crazy
Harsh shadows don’t have to ruin your shots. Sometimes the solution isn’t eliminating shadows completely – it’s about controlling and shaping them to add interest instead of distraction. A simple reflector positioned opposite your main light source can soften shadows without making your image look flat and boring.
Uneven lighting across larger dishes happens to everyone. Instead of moving your light source around, try repositioning your subject or using multiple small reflectors to create more balanced illumination. Think of it like seasoning – you’re not just adding light, you’re balancing it to bring out the best in every part of your dish.
Color temperature weirdness drives people nuts, especially when you’re mixing natural light from different windows or accidentally including some artificial light in your shot. Pick one main light source and commit to it for the entire shoot. If you must use multiple sources, make sure they’re similar, or plan to fix the color differences later.
Changing light conditions during longer shoots can actually work in your favor if you embrace them. That pasta dish might look fresh and vibrant in bright morning light, but warm and comforting as afternoon shadows grow longer. Different light creates different moods – use that to your advantage.