
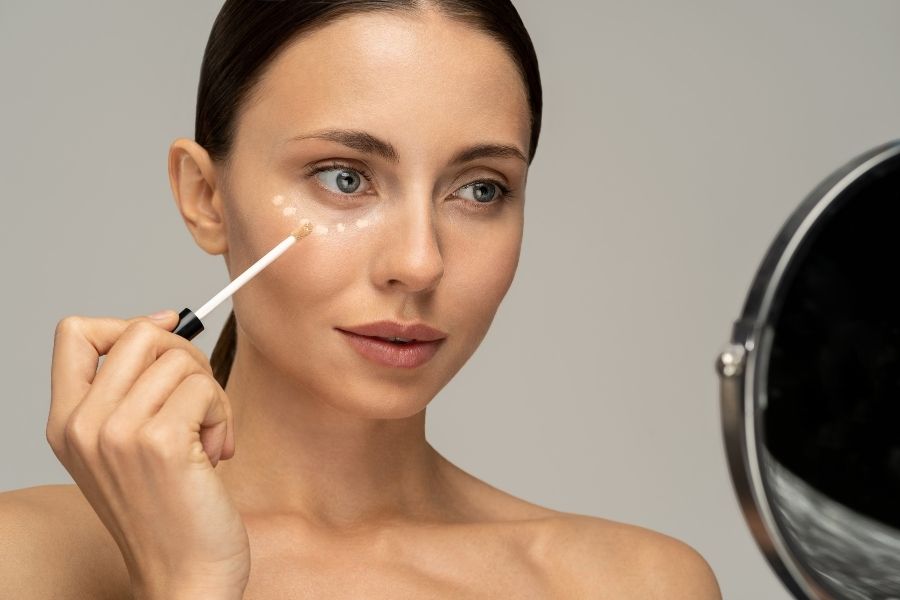
Concealer mapping changes everything about how you do makeup. Stop randomly dotting concealer everywhere and start thinking like a pro. Your face isn’t a coloring book – it’s more like a puzzle where each piece needs the right solution. Some spots need heavy coverage, others just a whisper of product. When you nail down which shades work where, your skin looks amazing instead of cakey. Strategic concealer placement isn’t rocket science, but it does require knowing your face better than your morning coffee order.
Here’s the thing about concealer mapping – it’s personal. What works for your friend’s dark circles might make yours look worse. Your breakouts show up in different places than mine. That’s why cookie-cutter tutorials often fall flat. You need a game plan that fits your actual skin, not some generic version of perfect.
Getting Real About Your Skin
Grab a mirror and get honest. Natural light works best – those bathroom bulbs lie to you daily. Look at your bare face and notice where things get tricky. Maybe your left eye has darker circles than your right. Perhaps your chin breaks out every month like clockwork. These aren’t flaws to hide from – they’re intel for your concealer mapping strategy.
Your skin pulls different stunts throughout the month. Stress brings surprise pimples. Hormones darken those under-eye circles. Weather makes everything either too dry or too oily. Smart people adjust their approach instead of using the same routine year-round.
Spotting Your Trouble Areas Through Concealer Mapping
Dark circle concealer mapping gets complicated fast. Some people have blue-ish darkness, others deal with brown patches. Many get both at once, which is just unfair. Purple circles need different treatment than yellow ones. Take notes about how your under-eyes look at different times – morning might be your worst enemy while afternoon lighting helps you out.
Breaking down blemish coverage through mapping makes more sense than slapping concealer on every red spot. Fresh pimples need gentle, breathable coverage. Old ones that are healing want more pigment to hide leftover redness. Scars require their own game plan entirely. Stop treating every bump the same way.
Hyperpigmentation loves to play favorites with certain spots on your face. Sun damage camps out on your cheeks and nose. Melasma creates those butterfly patterns nobody asked for. Old acne marks cluster around your jawline like they’re having a reunion. Once you spot these patterns, you can get ahead of them.
The Color Game That Changes Everything
Color theory for concealer mapping sounds fancy but it’s actually simple. Think of a color wheel from art class. Colors across from each other cancel each other out. Orange kills blue circles. Green neutralizes red breakouts. Yellow brightens up purple-ish areas. Master this and you’re halfway to perfect coverage.
Mapping concealer for different skin tones means understanding that your undertones matter more than your surface color. Cool-toned skin needs different fixes than warm-toned skin. What looks natural on your golden-undertoned friend might look awful on your pink-undertoned complexion.
When Things Get Complicated
Multi-toned concealer mapping handles the reality that your skin isn’t uniform. Your under-eyes might have both blue and brown going on. Acne scars often mix red and brown tones. You need multiple products working together, not one magic bullet.
Layering products in concealer mapping can backfire if you don’t know what plays nicely together. Water-based stuff fights with silicone formulas. Oil-based concealers can break down your foundation. Professionals solve this by sticking to compatible products and letting each layer set properly.
Techniques That Actually Work
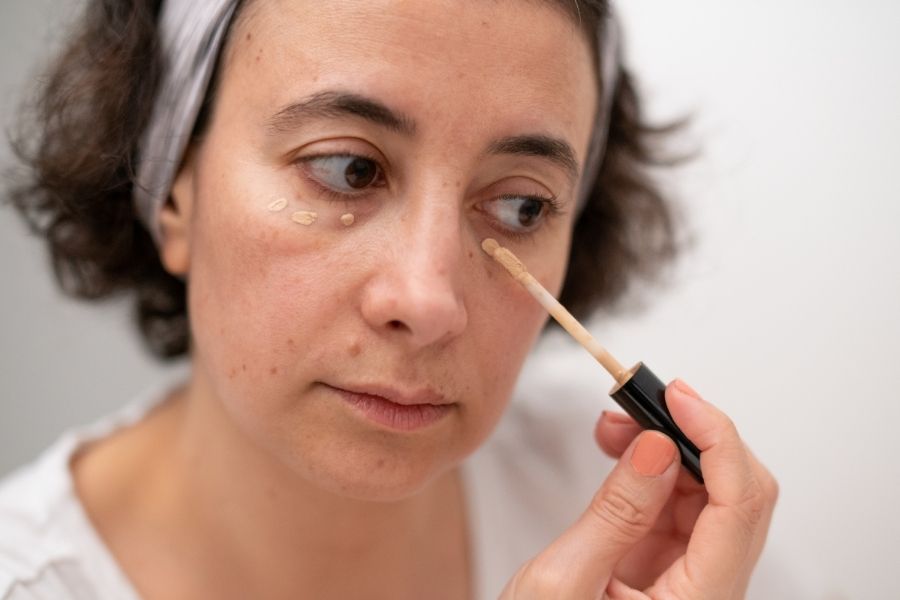
Concealer mapping for beginners usually starts with that triangle under the eyes. Fine, but real pros know you need to customize that shape. Follow your actual eye contours instead of drawing geometric shapes on your face. Extend coverage toward your nose bridge if needed. Blend those edges so they disappear.
The patting motion everyone talks about in professional concealer mapping isn’t just for show. Dragging stretches delicate skin and pushes concealer around instead of setting it in place. Your ring finger gives the gentlest pressure. Beauty sponges let you control exactly how much coverage you build up.
Your Face Shape Matters More Than You Think
Face shape considerations in concealer mapping affect where you place highlighting concealer. Round faces look longer with strategic highlighting down the nose center. Square faces need softening around sharp jawline angles. Heart-shaped faces benefit from balancing that wider forehead with the pointy chin.
Concealer for facial balance through mapping creates optical tricks that work in your favor. Bright inner eye corners make your eyes look bigger and more awake. Strategic under-eye coverage can actually change how your eye shape appears to others.
Tackling Specific Skin Drama
Acne concealer mapping strategies require understanding pimple psychology. Fresh breakouts need lightweight, non-comedogenic coverage that won’t make things worse. Healing spots want color-correcting power to kill that lingering redness. Knowing where your skin typically breaks out helps you prep those areas differently.
Melasma concealer mapping presents a real challenge because those patches have irregular shapes and varying darkness levels. You need multiple concealer shades to gradually build up coverage without looking obvious. Match both the color and the intensity of pigmentation in different parts of each patch.
Mature Skin Plays by Different Rules
Age-appropriate concealer mapping acknowledges that mature skin behaves differently than younger complexions. Fine lines need creamy, lightweight formulas that won’t settle into wrinkles. Age spots require more pigmented coverage that still moves naturally with your expressions.
Concealer mapping for wrinkle coverage involves strategic placement that works with your facial movements instead of against them. Skip heavy coverage in areas that crease frequently. Use light-reflecting particles to blur imperfections optically rather than covering them completely.
Tools That Make the Difference
Essential tools for concealer mapping go beyond basic brushes. Color-correcting palettes give you multiple shades in one compact. Mixing palettes let you create custom shades that match your exact skin tone perfectly. Good magnifying mirrors with different lighting help you see what you’re actually doing.
Brush selection for concealer mapping affects your final results more than you might think. Dense, flat brushes pack on serious coverage for stubborn spots. Fluffy brushes blend edges seamlessly into surrounding skin. Synthetic bristles work best with cream and liquid formulas while natural bristles handle powder products better.
Building Your Arsenal
Product layering in concealer mapping works best when everything plays nicely together. Start with color-correcting primers for overall tone issues. Add targeted color correctors for specific problems. Finish with skin-tone matching concealers. Keep each layer thinner than you think necessary and build gradually.
Long-wearing concealer mapping depends more on prep and setting than on expensive products. Moisturized skin holds concealer better than dry skin, but too much oil causes slipping throughout the day. Setting sprays and translucent powders lock everything in place when applied correctly.
Fixing Common Screwups
Avoiding concealer mapping errors starts with remembering that less is usually more. Heavy application screams “I’m wearing makeup” instead of “I have great skin.” Build coverage slowly and check your work in different lighting before adding more product.
Concealer oxidation ruins perfect morning coverage when products change color throughout the day. Test new products on your jawline and wait thirty minutes to see how they settle. This prevents that awful orange or gray transformation that happens by lunch time.
Getting the Colors Right
Perfect shade matching for concealer mapping requires testing in multiple types of lighting. Store fluorescents, natural daylight, and indoor evening lights all show different things about color accuracy. Those fancy color-matching machines help, but always double-check in real-world lighting before buying.
Seasonal adjustments to concealer mapping account for how your skin tone shifts throughout the year. Summer tans need deeper concealer shades while winter paleness might require lighter coverage with different undertones. Smart shoppers buy shade ranges that work year-round.
What’s Coming Next
Technology-enhanced concealer mapping includes apps that analyze your skin and suggest coverage strategies. AI identifies your concerns and recommends product combinations, though nothing beats hands-on experience with your own skin’s quirks and preferences.
Sustainable concealer mapping practices focus on multi-purpose products that reduce waste while maintaining effectiveness. Concealer sticks that also work as color correctors, refillable compacts, and concentrated formulas that need minimal product per application make environmental sense.
Concealer mapping keeps evolving as new ingredients and techniques emerge. But the basics stay the same: know your skin, pick the right colors, and apply strategically. Whether you’re dealing with occasional breakouts or complex pigmentation issues, this approach gives you the framework for coverage that enhances instead of masks your natural skin.
Getting good at this takes practice and patience. Don’t expect perfection on day one. Your concealer mapping strategy should grow and change as your skin does, keeping your makeup routine effective through different life stages and seasonal shifts. The goal isn’t flawless skin – it’s skin that looks like the best possible version of itself.